SHO Parking brake release cable
Instructions for changing the parking brake release cable on a second generation Taurus SHO
The pictures are from a 1994 Taurus SHO. The principles are the same for any SHO, and perhaps any Taurus or Ford with a pedal operated parking brake.
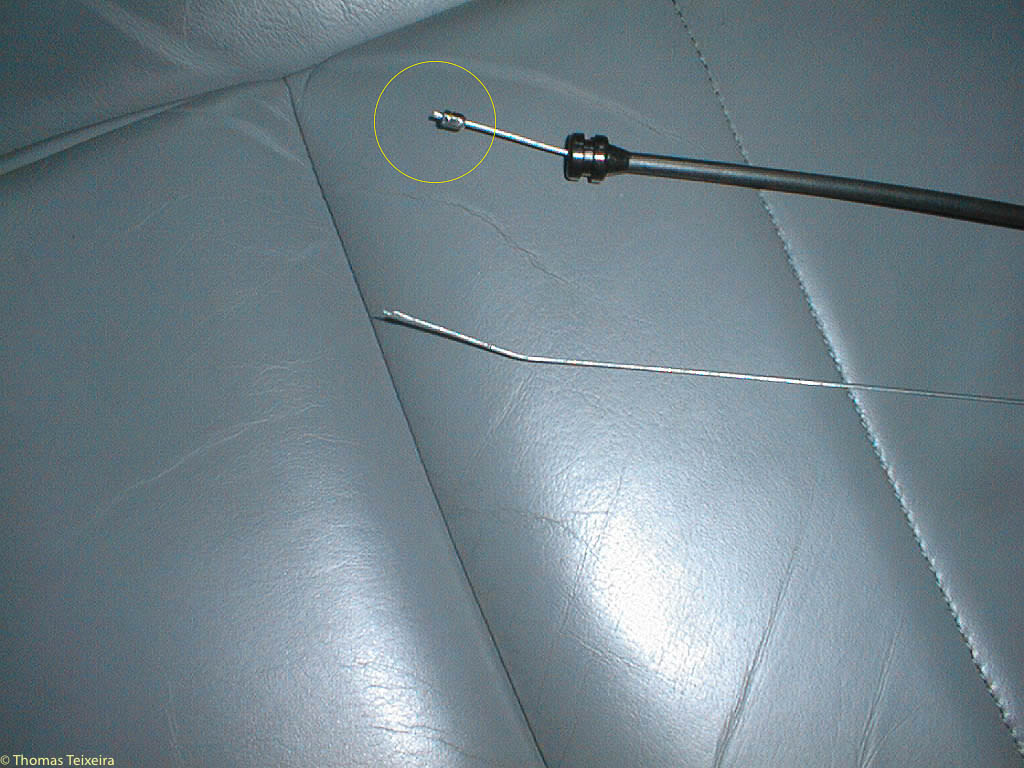
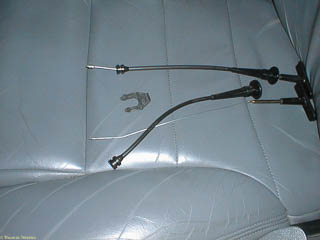
To start with, here's a picture of the broken release cable below the new cable that's replacing it. You can see the end of the new cable has something crimped on the end (inside the yellow circle) to engage the release lever.
This gets broken off, usually by the release lever cutting through the cable over time. If you look carefully, you should find this chunk of metal somewhere on your floor mat. When this nipple falls off, the cable and handle
will pull right out of the housing. To replace the cable, you have to remove the old housing, put in the new cable and housing and connect the cable to the end of the release lever.
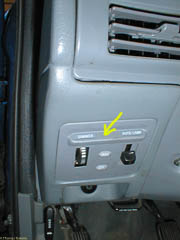
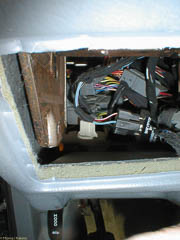
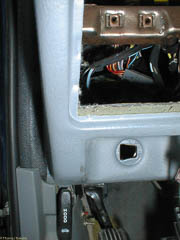
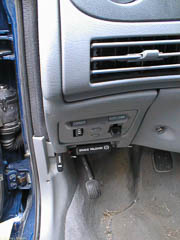
Before you can remove the old cable housing, you have to remove a clip that's holding it in place. On a SHO, this is pretty easy once you remove the panel for the dash board light dimmer and autolamp control. This panel is shown
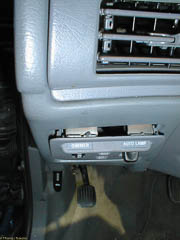
in the leftmost picture above.It's pretty easy to remove this panel. Just pull the panel away from the dash using the lip pointed to by the yellow arrow. Once you get it started, you can see that it's held in by four spring
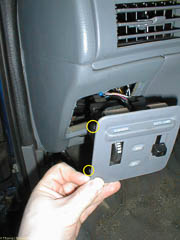
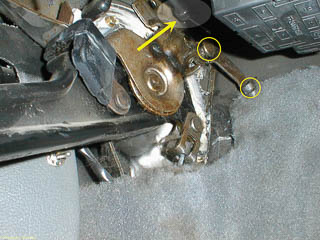
clips (two of these are shown inside yellow circles on the third picture).
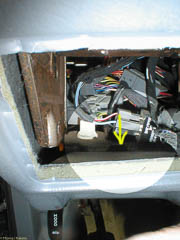
If you let the lamp panel hang down, you'll be looking at this trying to find the clip that holds the cable housing in. If you haven't figured it out already, you can click on any of these photos to get a larger view, but that
won't help you find it in this picture. In real life, it's easier to see, or you can just get a flash light.
But here's another picture using a "digital flashlight" to show you what to look for. Just pull out the retaining clip that the yellow arrow is pointing to and the parking brake release cable housing will just come out.
Here's all the stuff again for review. From top to bottom we have the new parking brake release cable assembly, the retaining clip, and the old parking brake release cable and housing.
"Installation is done in the reverse order". How many times have you read that? It's especially difficult when something has broken because you never saw it fully assembled. Well, installation is done in the reverse order,
but here are some pictures to help you out:
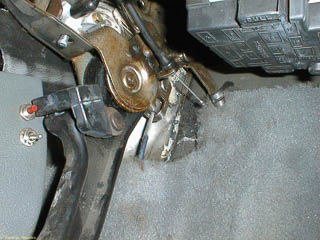
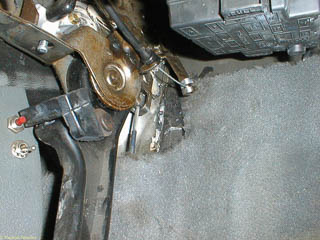
This is what the parking brake release lever looks like. The bracket in the upper circle holds the end of the cable housing while the slot in the release lever for the end of the cable itself is in the lower circle.The yellow arrow points
to the end of the new parking cable release housing.
By the way, if you haven't already released the parking brake, you should probably deliberately pull up on the release lever with the edge of your shoe or something since accidentally releasing the parking brake with your hand or face in the
way will result in a nasty surprise (don't ask me how I know). The parking brake in these pictures is definitely in the "armed and dangerous" position, but you can install the cable like this if you're careful.
Notice the hole in the dash for the cable housing has an asymmetrical shape so the cable will only go in one way and you don't have to worry about having a "ESAELER EKARB" or something. First feed the cable assembly through the dash. Then
re-install the retaining clip on the upper end of the brake release cable housing. The small push button and toggle switch are part of an aftermarket alarm system installed by the original owner.
Take the lower end of the parking brake release cable housing and put it in the upper bracket. It should just slide in.
Then pull up on the parking brake release lever just enough to put the end of the cable through the slot. Some people suggest smoothing the metal on the edge of the slot so the new cable won't wear away. This is probably a good idea, but since
I didn't have a Dremel or other small grinding tool available, I just left it alone. Several years from now I may be sorry!
Now you can snap the dimmer/auto lamp control back into place, and get back to waxing your door jambs (or in my case, just vacuuming the floor mats).

