Rebuilding and Installing a "1939" Transmission
Part 2: Reassembly
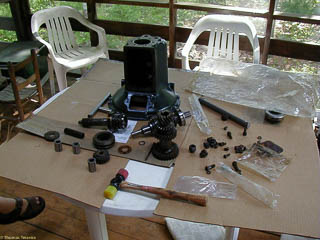
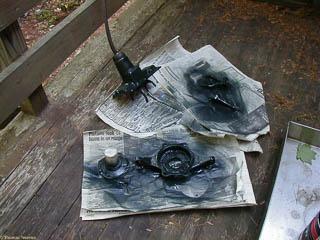
Undaunted by the experience of taking the transmission apart, I hoped that reassembly could be done in a controlled way! First things first, I gathered all the parts into one place. I'd stripped all the blue point off the case
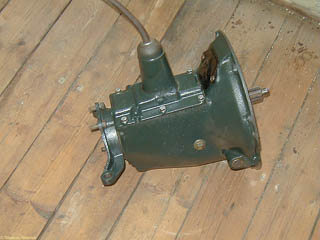
and repainted with the Ford green from a spray can.
The other accessory pieces had also been painted. I left the shifter assembled, and just used masking tape on the front bearing retainer. I later used some aluminum paint on the cup at the bottom of the shift lever.
Since I had completely removed the clutch release shaft and bearings, first step was to put new bushings in place. Those of you who are more alert than I was will notice there's a hole in the bushing, and that hole is supposed to
line up with the threaded hole for the grease fitting on the bottom of the transmission case. If you mess up like I did, you can drill another hole through the bushing.
The original clutch release shaft (or at least the clutch release shaft that was in the transmission when I got it) was worn around the bushings so we replaced it with a new one. It seemed slightly oversized. The bigger issue was getting it
through the clutch release fork and clutch release lever. We ended up spending a lot of time with some emery cloth, and it was still a very tight fit. I don't know if a machine shop could have ground a few thousands off it without causing
more trouble or not.
The next step was putting the cluster gear in the bottom of the transmission case. The roller bearings for the front and rear have already been inserted along with the spacer. There's also a washer at the front and the rear. The rear of the
case is to the left in this picture. You can see the casting boss for holding the rear idler shaft at the upper left. After the cluster gear is in place, you can insert the reverse gear and shaft.
And this is where we took a departure from the shop manual again...
The instructions say you can take the main drive shaft, complete with rear bearing and synchronizer assembly, put it in the case and slide it forward, lower it to mesh with the cluster gear, and then slide it back in the case. It looks so
easy in the drawings! But we couldn't angle it down far enough without the synchronizer hitting the front of the transmission. If we tried pulling the synchronizer further back, it came apart and jettisoned springs and ball bearings all
around the transmission and screen porch. We retrieved them all and reassembled the synchronizer a couple times, but didn't take any incriminating pictures.
The gambit we finally used was to put in the main shaft without the synchronizer and then slide this in place inside the transmission. This was non-trivial since the splines are not perfectly symmetrical, and the clearances
are just tight enough to make it awkward to remove the synchronizer when the splines don't quite match.
This shows the transmission mostly reassembled. As you can tell, I decided that the clutch release shaft didn't need to be installed yet after all. And the part of the assembly that the books say is tricky -- lifting the cluster gear up while
inserting the cluster gear shaft -- was fairly easy.
This shows the rear main bearing. This is a sealed bearing which hopefully will reduce the chance of leaks. I'm not sure why they sell sealed bearings for the rear but not the front. You can see the reverse idler shaft flush with the case
at the lower left, and the main cluster at the other side of the case. And yes, that is blood there: I tried to put the large snap ring on the rear bearing with just my fingers, and it took the opportunity to snap back. I'm not sure how
important this external snap ring is: you can get bearings much cheaper without these snap rings.
The rest of the reassembly was simple: put on the rear transmission mount which also serves as a retainer for the rear bearing; put on the front bearing retainer, install the clutch release shaft, and finally the shifter assembly. The front
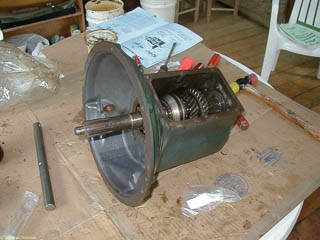
of the transmission case was painted with cast iron gray paint. Here are some pictures of the finished results.
Those of you with sharp eyes will look at the clutch release lever in the third picture and notice it doesn't match the picture of the original transmission. Oops! I didn't notice this until much later.
Continue to "Return of the Transmission" (a transmission with real 1939 gears inside)

